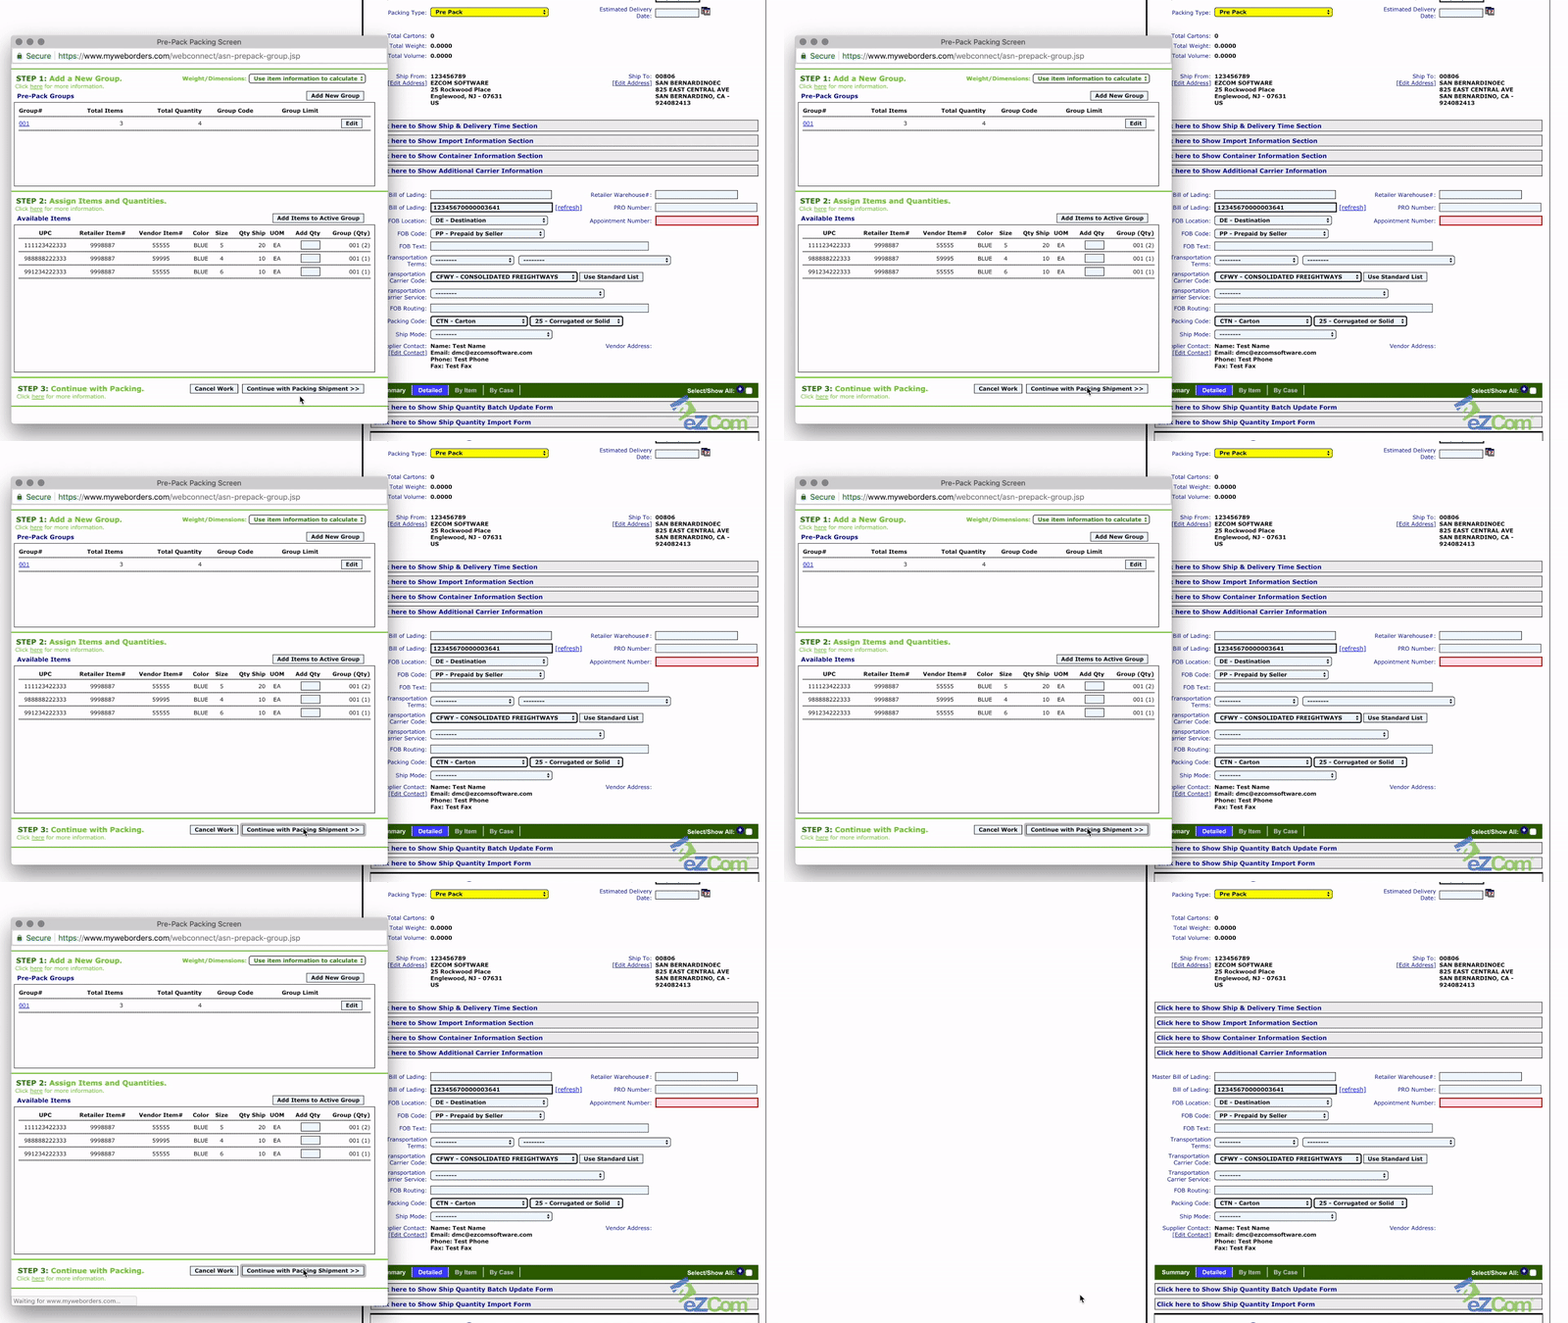
When it comes to packing your shipment into cartons, Lingo has many different methods. One of the most versatile is the Pre-Pack.
Pre-Pack is popular for use in picking and packing scenarios, when none of your packages seem to follow any sort of pattern, and you must input the package contents one carton at a time. But the reality is that Pre-Pack was actually designed for the exact opposite purpose! If you have a packing pattern that repeats across multiple cartons, Pre-Pack will take that pattern and use it to create multiple cartons at once.
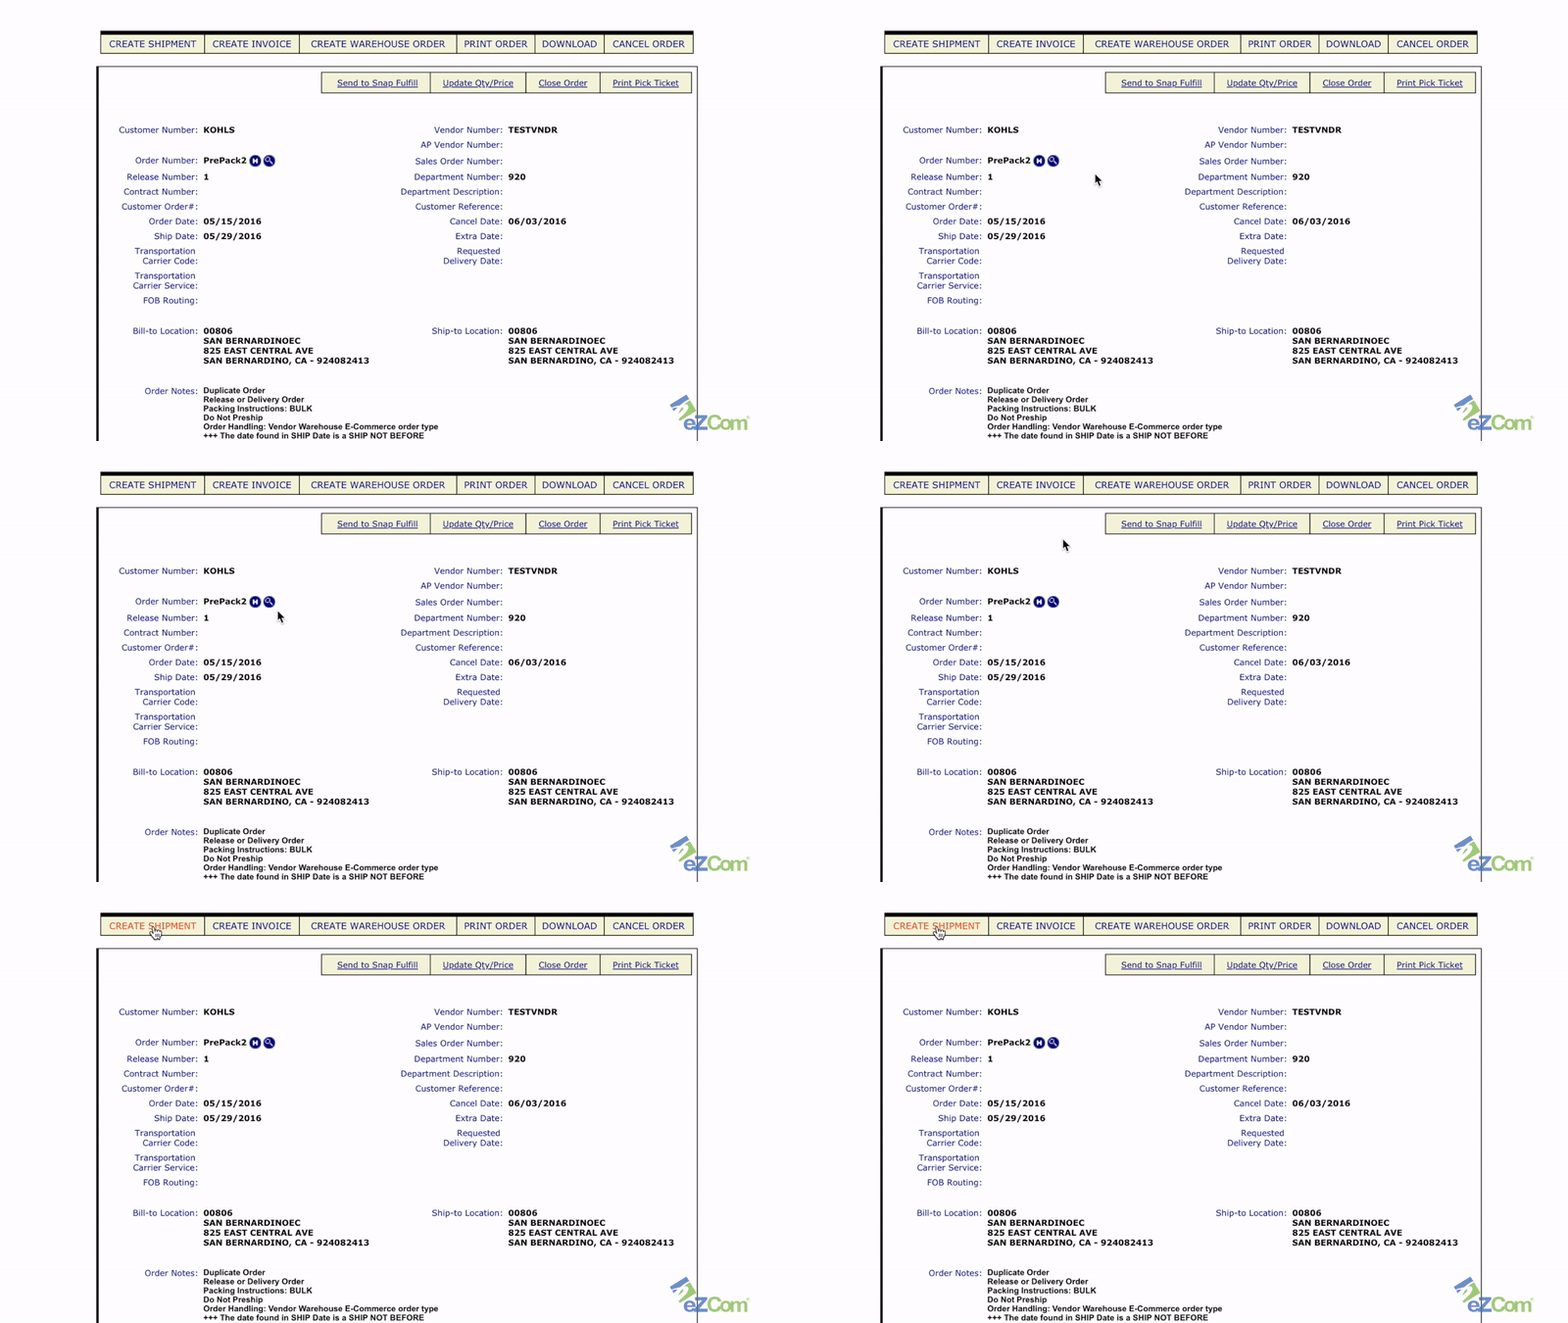
From the order, the first step is to click Create Shipment.
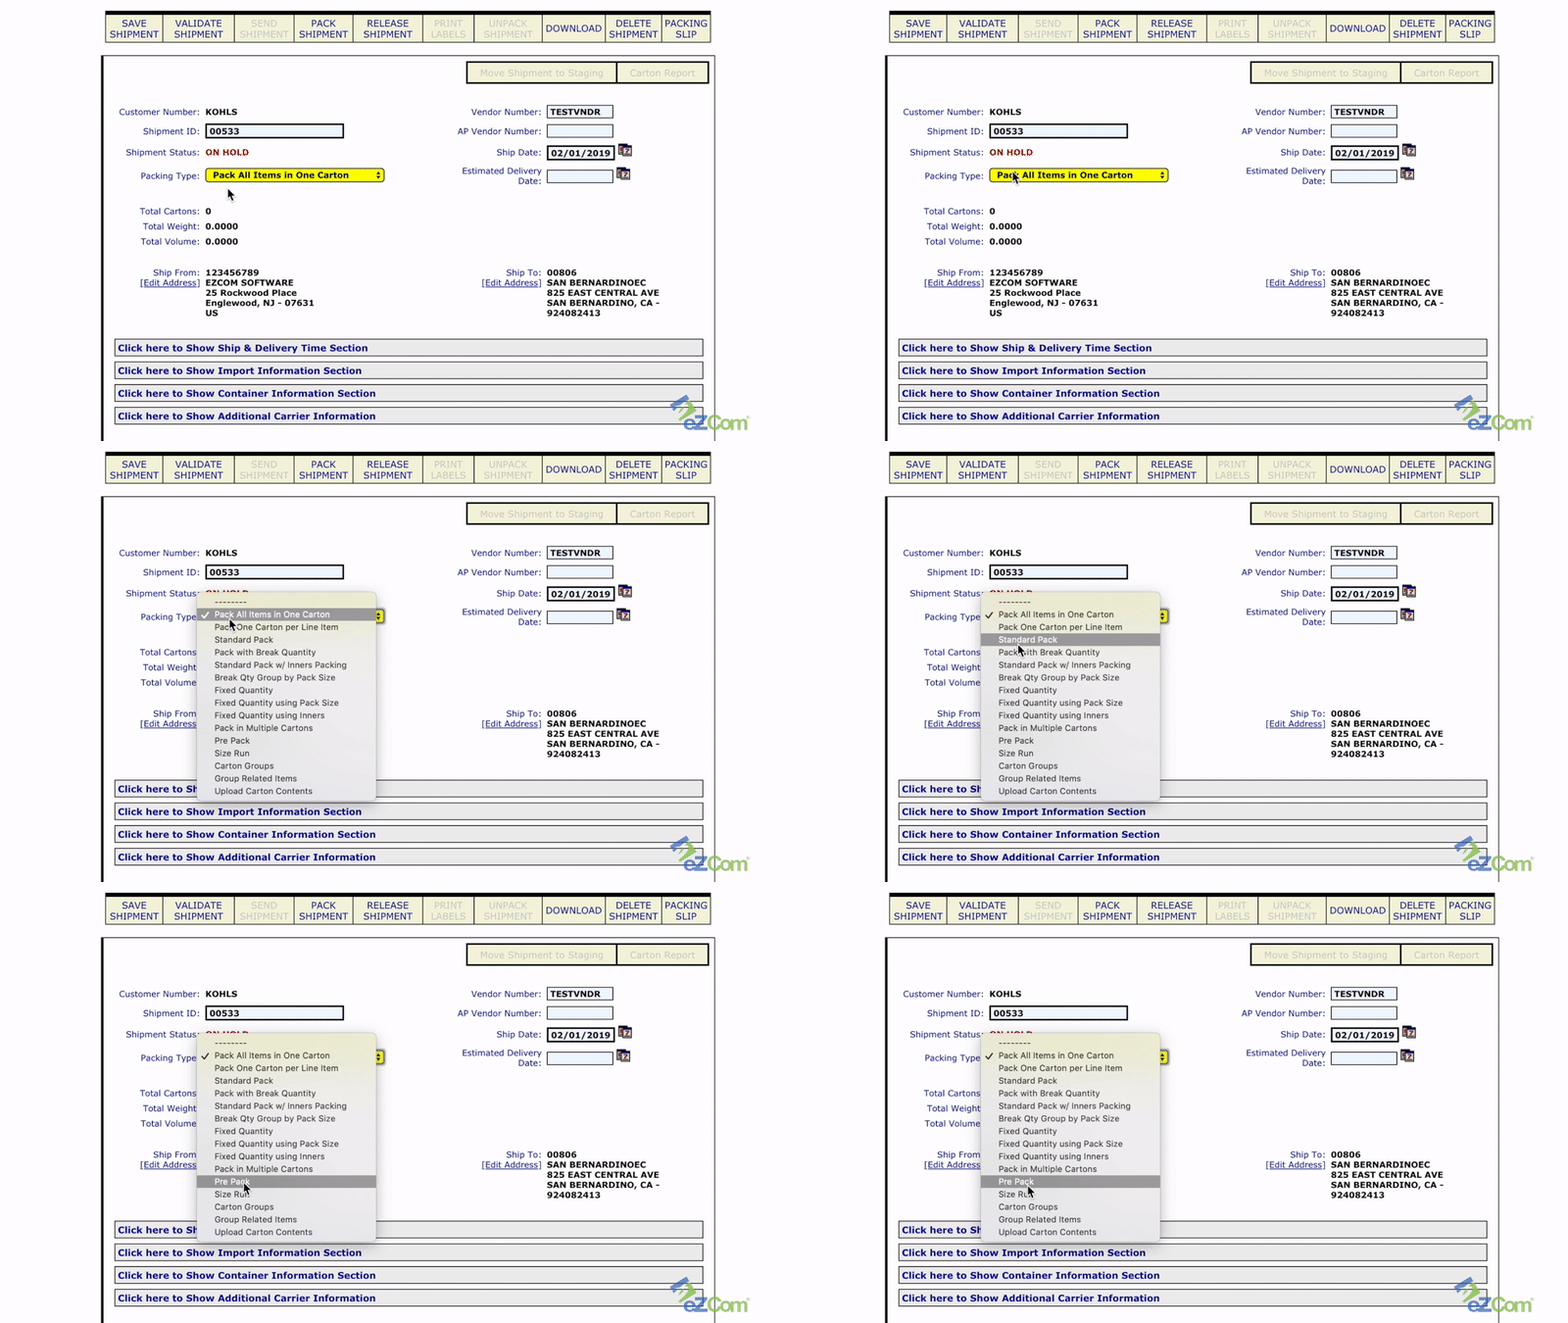
Next, from the Shipment Notice, go to Packing Type in the yellow drop down menu bar and select Pre-Pack.
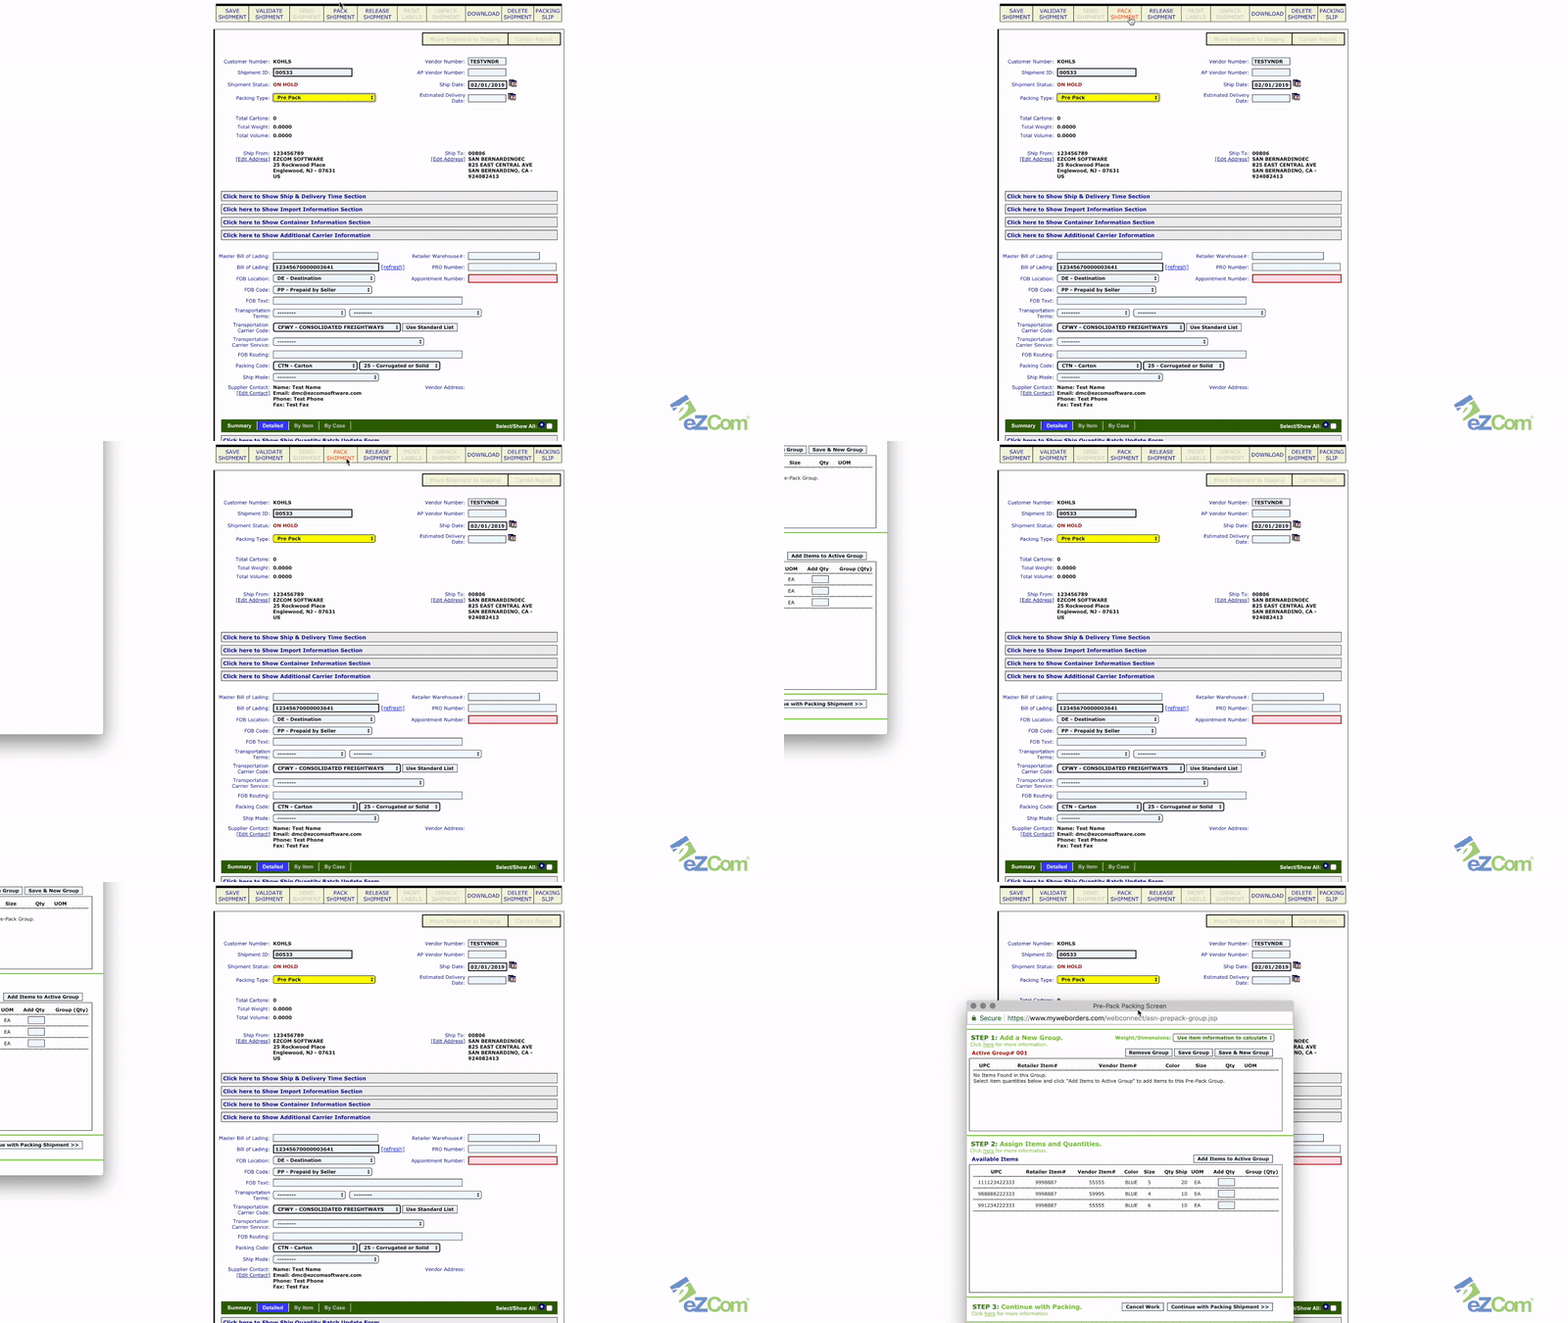
Then click Pack Shipment in the top menu bar. A pop-up box will appear.
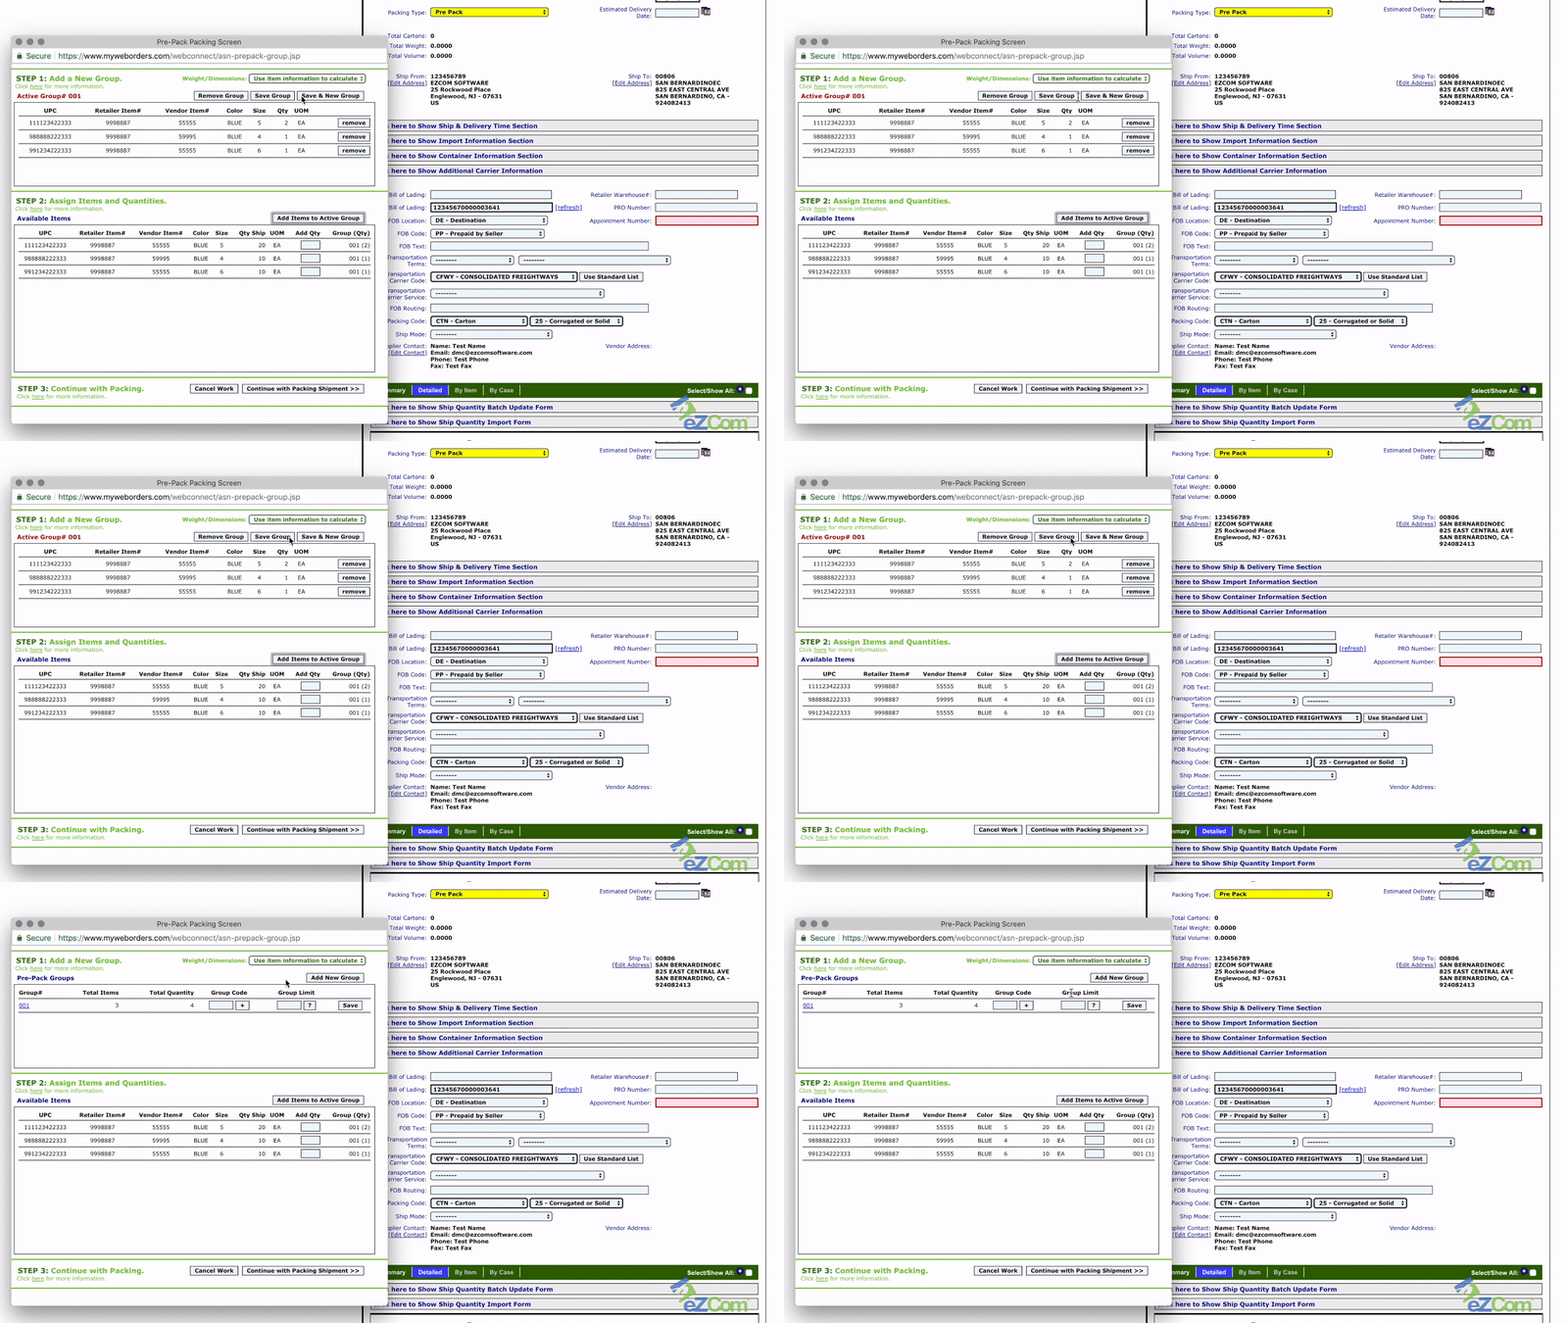
Now you’ve arrived at Step #2 and can see a list of all your available items. You can create a single carton or create a Group Pack.
If you are packing four different items of varying quantities, you will enter the quantity in the Add QTY box on the line of that item. In this example, Item #1 has a quantity of two, Item #2 has a quantity of four, Item #3 has a quantity of eight, and Item #4 has a quantity of four. You will then click “Add Items to Active Group”. This will create the Pack Group of 2-4-8-4. After that , you can specify how many cartons to create with that configuration and click Save Group.
Next, you will add the number of cartons you want to create in the Group Limit box and click Save.
Once you have saved the group or groups, simply click Continue With Packing Shipment at the bottom of the screen and let Lingo work its magic!
This concludes the tutorial. If you have any questions , please contact the support team at (877) 765-3564 (Option #2).

